
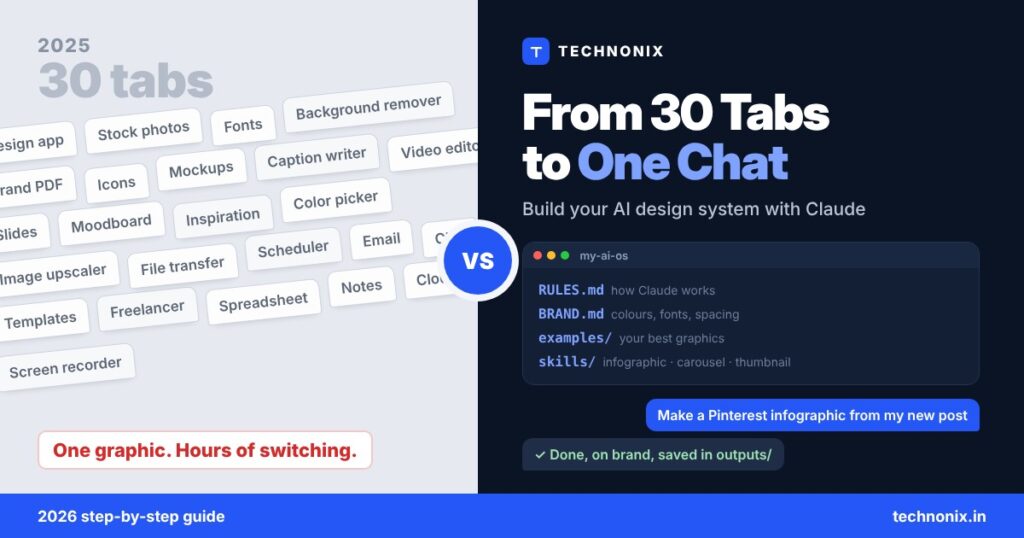
Quick answer: an AI design workflow replaces "30 tabs for one graphic" with one organized Claude setup. You write your rules and brand once (a rules file and a BRAND.md), keep your best work in an examples folder, teach Claude one skill per job (infographic, carousel, thumbnail, captions), and connect the few apps that finish the work, such as Canva or Figma. You stay the creative director; Claude does the production. The step-by-step setup is below.
Think about the last social media graphic you made. You probably opened a design app, a stock photo site, a font library, a background remover, your brand folder, a caption tool, a scheduler and a chat window. That is how most people worked in 2025: many tabs, lots of copy and paste, and a different result every time.
In 2026 the smarter way is different. You build a small, organized system once, and then a single conversation with Claude can produce on-brand infographics, carousels, thumbnails and captions. This guide shows you how to build that AI design workflow step by step, what each part does, and where you still need human judgment.
What Changed in 2026
Three updates to Claude make the one-chat workflow practical for normal users, not just developers:
- Claude Design launched in April 2026 for paid plans. It creates slides, one-pagers, prototypes and other visuals from a description, can apply your design system, and exports to PDF, PowerPoint or straight into Canva for editing.
- Custom skills are now available on every Claude plan, including Free. A skill is a folder of instructions that teaches Claude one job, such as “make an infographic in our style”.
- Connectors let Claude work with apps like Canva, Figma, Google Drive and Notion, so a design can move from idea to finished file without you copying it around.
Add Claude’s ability to work with folders on your computer (see our Claude Cowork setup guide) and you have everything needed to build your own AI design system.
The 2025 Design Toolkit vs the 2026 AI Design Workflow
| Job | The 2025 way | The 2026 way |
|---|---|---|
| Brand consistency | Brand PDF open in another tab, checked by eye | BRAND.md that Claude reads before every design |
| Layout | Start from a blank canvas or a template | Claude drafts from your best past examples |
| Repeat formats | Rebuild the carousel or thumbnail each time | One skill per format, reused every time |
| Copy and captions | Separate writing tool, then paste | Written in the same chat, in your tone |
| Finishing touches | Export, download, upload, re-edit | Send to Canva or Figma through a connector |
| Your role | Operator of 30 tools | Creative director of one system |
This does not mean Canva or Figma disappear. They become the finishing tools at the end of the workflow instead of the place where every graphic starts.
How to Build Your AI Design System in 6 Steps
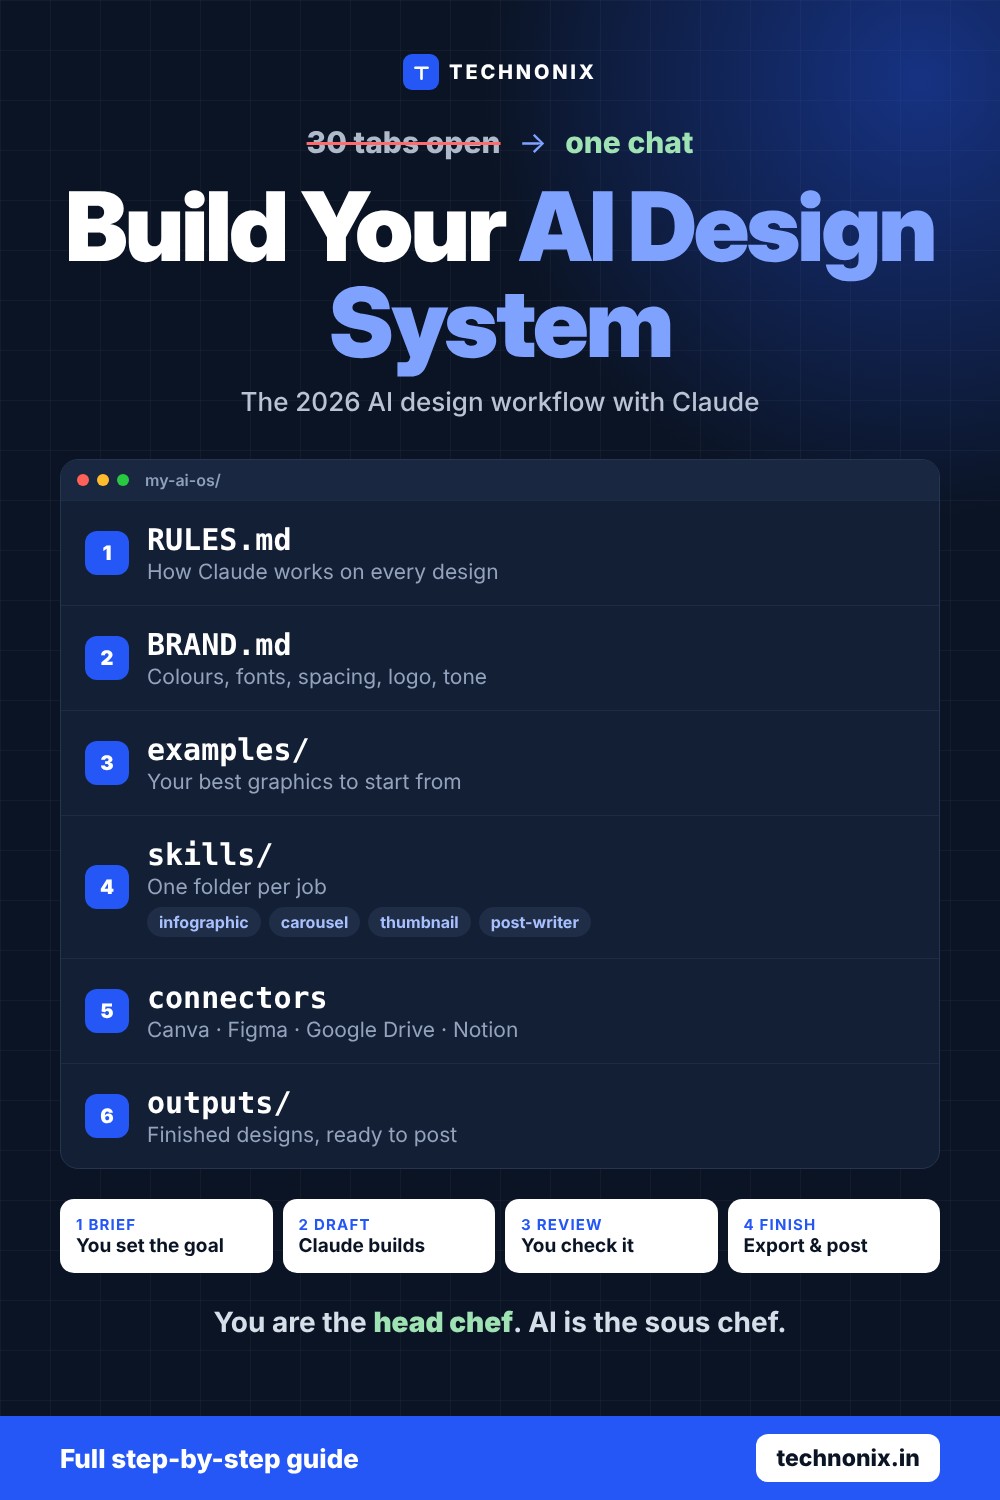
Create one folder called my-ai-os (or any name you like). Everything below lives inside it, so Claude always knows where to look.
my-ai-os/
  RULES.md     your rules
  BRAND.md     colors, fonts
  examples/    best graphics
  skills/
    infographic/
    carousel/
    thumbnail/
    post-writer/
  outputs/     finished designs
Step 1: Write Your Rules File
This is the “head chef” file of your AI design workflow: how you want Claude to work on every design. If you use Claude Code, name it CLAUDE.md and it is read automatically. In the Claude app, keep it as RULES.md and add one line to your global instructions: “Before any design task, read RULES.md and BRAND.md in my-ai-os.”
# Design rules
- Always follow BRAND.md. Never invent new colors or fonts.
- Start from the closest file in examples/ and say which one you used.
- Show me a quick outline or sketch before the full design.
- Keep text short: max 8 words per headline, 15 per line of body text.
- Every design must be readable on a phone screen.
- Save finished files in outputs/ with the date in the file name.
- Flag anything you are unsure about instead of guessing.
Step 2: Create BRAND.md
Your brand file is what makes every graphic look like it came from the same designer. Let Claude build it for you from what you already have:
I will share my logo, my website link and 3 graphics I like. Create a BRAND.md file with:
1. Color palette: primary, secondary, accent, background and text colors with hex codes, and where each is used
2. Fonts: heading and body fonts, sizes for headlines, subheads and body text
3. Spacing: margins, padding and corner radius
4. Logo rules: where it goes, minimum size, what not to do
5. Tone of voice for text on graphics, with 5 example headlines
Keep it to one page and save it as BRAND.md in my-ai-os.
Tip: On paid plans, Claude Design can also hold your design system and apply it to every project, which is useful if you make slides and one-pagers often.
Step 3: Fill the examples/ Folder
AI copies patterns. Give it good ones. Add 5 to 10 of your best graphics (or ones you are allowed to use as reference) and a short note for each, for example “carousel-tips.png: works because of the bold numbers and one idea per slide.” Claude will match the quality and structure of these instead of producing generic AI layouts.
Step 4: Teach Claude One Skill per Job
A skill is a folder with a SKILL.md file inside. The file starts with a short name and a description of when to use it (up to 200 characters), followed by the instructions. Claude reads the description to decide when the skill is needed. Here is a simple infographic skill:
---
name: infographic
description: Creates tall, on-brand infographics (1000x1500) for Pinterest and blog posts from a topic or article, following BRAND.md.
---
# Infographic skill
1. Read BRAND.md and the infographic examples in examples/.
2. Ask for the topic, audience and the one action the reader should take.
3. Plan 5 to 10 sections: a bold title, numbered points with icons, and a footer with the website.
4. Build it as HTML and export a 1000x1500 PNG.
5. Check: text readable on a phone, no spelling errors, colors from BRAND.md only.
6. Save to outputs/ and write a Pinterest title and description.
Make one skill each for your repeat jobs: infographic, carousel, thumbnail and post writer. To add a skill in the Claude app:
- Turn on code execution in Claude’s settings, because skills need it.
- Zip the skill folder so the folder itself is at the root of the ZIP (not inside another folder), and keep the folder name the same as the skill name.
- Go to Customize → Skills, upload the ZIP and switch the skill on.
Even easier: ask Claude to write the skill for you. Describe how you make a carousel today and say “turn this into a skill I can upload”.
Step 5: Connect the Tools That Finish the Job
Open Customize → Connectors (or the + menu in the message box) and connect only what your workflow needs. A lean design stack looks like this:
| Job | What to connect |
|---|---|
| Finishing and editing | Canva or Figma |
| Files and assets | Google Drive |
| Planning and content calendar | Notion |
| Images and illustrations | One image generator you trust, used for visuals only |
Keep connector permissions on “needs approval” for anything that publishes, shares or deletes. You decide what goes live.
Step 6: Run Every Design Through the Same Loop
Once the system is in place, every graphic in your AI design workflow follows four steps:
- Brief: “Make a 5-slide Instagram carousel from this blog post using the carousel skill.”
- Draft: Claude plans the slides, picks the closest example and builds a first version.
- Review: you check the message, facts, spelling and look. Ask for specific changes.
- Finish: export, or send to Canva or Figma for final touches, then schedule it.
You Are the Head Chef, AI Is the Sous Chef
The biggest mistake with AI design is letting the tool lead. A sous chef is fast and skilled, but the head chef decides the menu, tastes every plate and sends back anything that is not right. In your AI design workflow, that means:
- You choose the idea and the message. AI is great at production, weaker at knowing what your audience needs to hear.
- You check every detail. AI-generated images can still contain wrong text, odd hands or off-brand colors.
- You own the rights. Only use fonts, photos and logos you are allowed to use, follow each image tool’s usage terms, and never upload client files you are not allowed to share.
- You keep improving the system. When Claude gets something wrong twice, add a rule to RULES.md or the skill so it never happens again.
Try It: Your First One-Chat Graphic
With your folder ready, paste this into Claude:
Using my-ai-os, make a Pinterest infographic from this article: [paste link or text].
Use the infographic skill and the closest example in examples/.
Show me the outline first. After I approve it, build the final 1000x1500 image, save it in outputs/, and write a Pinterest title, description and alt text.
The first result may need a few changes. Each fix you turn into a rule makes the next graphic faster, which is the real power of a system over 30 open tabs.
What an AI Design Workflow Cannot Do (Yet)
- Replace taste. AI follows patterns. Fresh creative ideas still come from you.
- Guarantee perfect text in images. Always proofread headlines and numbers.
- Replace professional tools for complex work. Detailed illustration, video editing and print production still need specialist tools and skills.
- Remove the need to check facts. If a graphic contains statistics, verify them at the source.
Frequently Asked Questions
What is an AI design workflow?
An AI design workflow is a repeatable setup where an AI assistant like Claude creates graphics from your rules, brand file, examples and skills, while you brief, review and approve. It replaces jumping between many separate tools for every design.
Do I still need Canva or Figma?
Usually yes, but in a smaller role. Many people use Claude to plan and draft designs, then finish or edit them in Canva or Figma. Claude Design can even send projects to Canva for editing.
Can I use custom skills on the free Claude plan?
Yes. Claude’s help center says skills are available on Free, Pro, Max, Ultra, Team and Enterprise plans. Code execution must be turned on. Claude Design and some connectors need a paid plan.
What is the difference between CLAUDE.md and BRAND.md?
CLAUDE.md (or RULES.md) holds your working rules: how Claude should approach every task. BRAND.md holds your visual identity: colors, fonts, spacing, logo rules and tone. Claude Code reads CLAUDE.md automatically; in the Claude app you point to both files in your instructions.
Is it safe to use AI-generated images for clients?
It can be, if you follow the image tool’s terms, check that nothing copies an existing brand or artwork, and agree with the client that AI tools are part of your process. Always review images before delivery.
Close the 30 Tabs. Open One System.
Build your rules, brand file, examples and first skill this week. Then find the AI design and image tools that fit your workflow.
Explore the AI Tools directory →
Set up the folders first with our Claude Cowork setup guide, or start earning with 10 Free Claude Prompts for Web Design.
Last reviewed November 2026. Feature details are based on Claude’s official skills help article, the connectors directory announcement and TechCrunch’s Claude Design launch report, and may change.


Leave a comment